

Residential Window Tint Installation Process: What Homeowners Can Expect
If you have been thinking about tinting the windows in your home, chances are you have a few practical questions before you move forward. How long does installation take? Will your house be turned upside down for the day? Do the windows look cloudy afterward? And most importantly, is residential window tint installation actually worth it in a place like San Antonio, where the sun can turn a bright living room into a heat trap by mid-afternoon?
The short answer is yes. Professionally installed residential window film can make a noticeable difference in comfort, privacy, glare reduction, and energy efficiency. But homeowners usually feel better about the investment when they know what the process looks like from start to finish. The good news is that installation is typically much cleaner, faster, and less disruptive than people expect.
At Premier Window Tinting, residential clients are often looking for the same thing: a cooler, more comfortable home without sacrificing natural light. Whether the goal is reducing heat, protecting furniture from fading, adding privacy, or improving security, understanding the installation process helps set clear expectations and makes the entire experience smoother.
Why Homeowners Choose Residential Window Tint Installation
For many homeowners, the first push toward window film is discomfort. Maybe one side of the house gets blasted with afternoon sun. Maybe the upstairs bedrooms stay warmer than the rest of the home no matter how hard the AC runs. Maybe the glare on the television makes the living room feel like a stage lit by spotlights. Residential window tint installation addresses those everyday frustrations in a way blinds and curtains often cannot.
Window film works directly on the glass, helping reject solar heat, reduce UV exposure, and cut harsh glare while still allowing in usable daylight. That matters in South Texas, where sun exposure is not a seasonal annoyance but a near-constant force. In San Antonio homes, especially those with large windows, open-concept layouts, or west-facing glass, quality residential tint can help rooms feel more stable and livable throughout the day.
There is also the long-term value. Homeowners often choose residential window film to help protect flooring, furniture, artwork, and finishes from fading. Others want more daytime privacy or added peace of mind through safety and security film. Some simply want the home to feel less exposed. Good window film is not just cosmetic. It is functional, and when installed correctly, it becomes one of those upgrades you notice every single day.
Step 1: The Initial Consultation and Window Assessment
The residential window tint installation process usually starts with a consultation. This is where the installer learns what you want the film to do, because not every homeowner needs the same solution. One family may want to reduce heat in a sunroom. Another may need glare control in a home office. Another may be focused on privacy for front-facing windows or security film for vulnerable glass doors.
During this stage, the windows themselves are evaluated. The installer will look at factors like window size, glass type, orientation, sun exposure, and the condition of the existing glass. This part matters more than many homeowners realize. Applying the wrong film to the wrong type of glass can create performance issues, and in some cases, even increase the risk of thermal stress. A professional installer is not just showing up with a roll of film and a squeegee. They are matching the product to the structure.
This is also when homeowners can ask practical questions about appearance. Some films are nearly invisible, while others have a more reflective or tinted look. If you want to preserve your view while reducing heat, that will influence the product recommendation. If privacy is the top priority, the film choice may be different. A good consultation should feel less like a sales pitch and more like a problem-solving session.
Step 2: Choosing the Right Residential Window Film
Once the goals are clear, the next step is selecting the right film. This is where homeowners sometimes get overwhelmed, because there is no single “best” film for every house. There are solar control films, decorative films, privacy films, and safety and security films. Within those categories, there are different shades, performance levels, and visual finishes.
For example, homeowners trying to reduce indoor heat and lower cooling strain often choose solar window film. These films are designed to reject a significant amount of solar energy while helping maintain a brighter, more open feel indoors. In a hot climate like San Antonio, that can be a major advantage. Rooms that used to feel like greenhouses by late afternoon can become noticeably more comfortable.
Other homeowners prioritize UV protection and glare reduction without dramatically changing the look of the windows. Some want a subtle finish that blends into the home’s exterior. Others want added daytime privacy for street-facing rooms. The right installer will explain the tradeoffs clearly. Some films are better for heat rejection. Some are better for privacy. Some are designed for safety. The best choice depends on how you actually use the space.
Step 3: Preparing the Home for Installation Day
One of the biggest misconceptions about residential window tint installation is that it is a messy, construction-heavy job. In reality, professional installation is usually straightforward and minimally invasive. That said, there is some preparation involved to make sure the film adheres properly and the work area stays protected.
Before installation begins, the area around the windows should be reasonably accessible. Homeowners may be asked to move small furniture, decorations, plants, or fragile items away from the glass. Window sills should be cleared, and blinds or curtains may need to be tied back or temporarily removed. If a room is crowded with furniture pressed right up against the windows, the installer may need a little space to work comfortably and safely.
Professional crews typically protect nearby surfaces with drop cloths or towels and use cleaning solutions designed for film installation. This is not the kind of process that should leave your home looking like a remodeling zone. Think of it more like detailed finish work than demolition. Clean, careful, and controlled. The prep work is important because even tiny bits of dust, pet hair, or debris can interfere with the final result.
Step 4: Cleaning the Glass Thoroughly
If there is one part of the residential window tint installation process that homeowners tend to underestimate, it is the cleaning. Proper surface preparation is everything. Window film needs an exceptionally clean glass surface to bond correctly, and “looks clean” is not the same thing as “film-ready.” A pane of glass can appear spotless in normal light and still have enough residue, lint, or microscopic dust to affect the finish.
Installers will carefully clean the interior glass using specialized tools and solutions. They may scrape away old residue, remove adhesive traces, and clean along the edges and seals where dirt likes to hide. This is one reason DIY window tint jobs often go sideways. People focus on applying the film and overlook the prep. Then they end up with trapped debris, peeling corners, or bubbles that look like they are living permanent lives under the glass.
A professional installer treats cleaning as part of the craft, not an afterthought. When done correctly, this stage sets the foundation for a smooth, polished result that looks intentional instead of improvised.
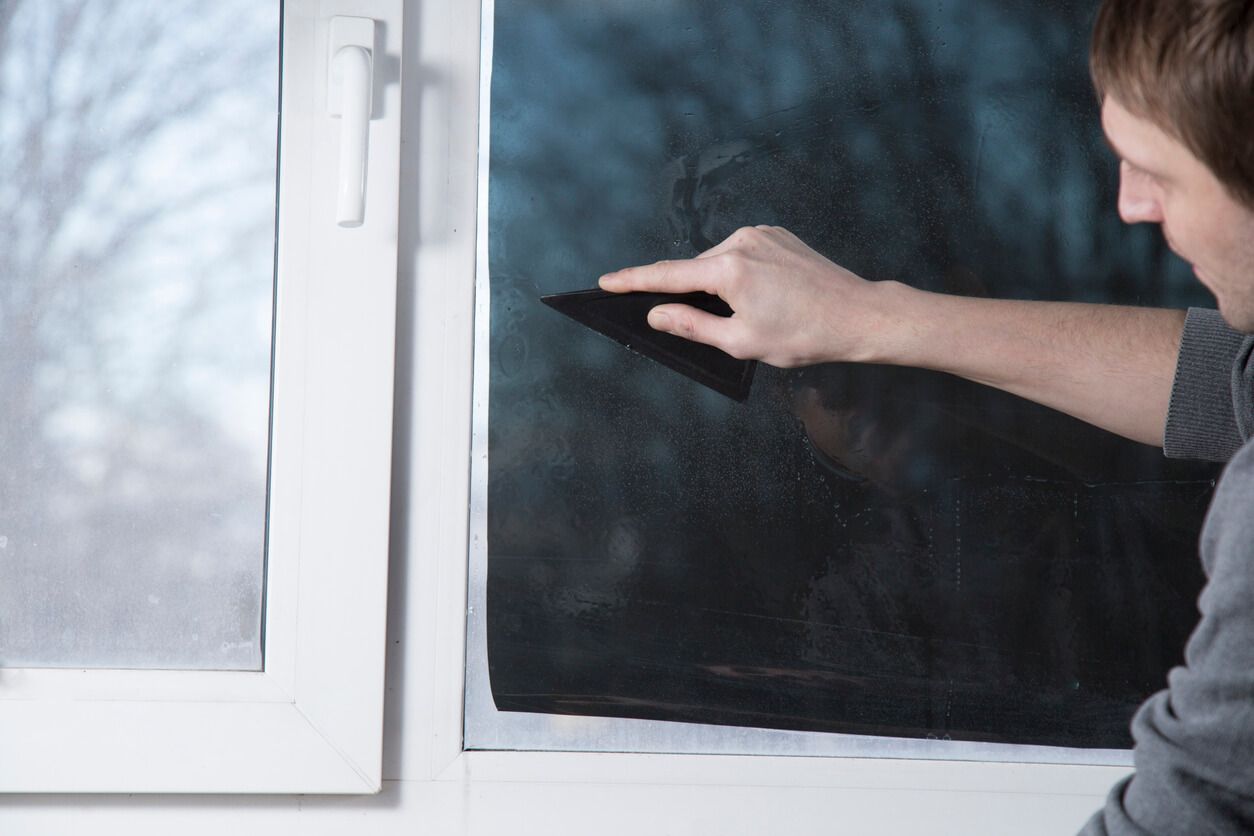
Step 5: Measuring, Cutting, and Applying the Film
After the glass is fully prepared, the installer measures and cuts the film to fit each window. Depending on the project, some cuts may be done by hand on-site, while others may be precision-trimmed in advance. The goal is a clean fit that aligns closely with the window edges without lifting or crowding the frame.
The glass is then lightly wetted with a slip solution, and the film is carefully positioned onto the interior side of the window. Once in place, the installer uses professional squeegees and tools to remove excess solution and flatten the film against the glass. This is where experience shows. Good installation is part technical skill, part patience. The film has to be aligned properly, pressed evenly, and finished cleanly around the edges.
Homeowners may notice some moisture or a slightly hazy appearance right after installation, which is normal. The film is not “failing” or bubbling in the dramatic way people fear. It is simply going through the early stages of curing. Think of it like fresh paint that has not fully settled yet. The finished look improves as the moisture evaporates and the film bonds completely to the glass.
Step 6: What the Film Looks Like Immediately After Installation
Right after residential window tint installation, the windows may not look perfect in the way homeowners expect from a finished product. There can be a mild cloudy appearance, small water pockets, or a slightly streaky look during the curing phase. This is normal and temporary.
The curing timeline depends on several factors, including the type of film, indoor temperature, humidity, and how much direct sunlight the windows receive. In warm conditions, the process may move faster. In cooler or more humid conditions, it can take longer. During this period, it is important not to touch, press, or clean the film.
This is one of the most important expectations to set. A freshly tinted residential window is not like a new appliance you can polish immediately. It needs time to settle. Most homeowners find that as the days pass, the film becomes clearer and more uniform. By the time curing is complete, the glass should have a clean, finished appearance with the performance benefits already kicking in.
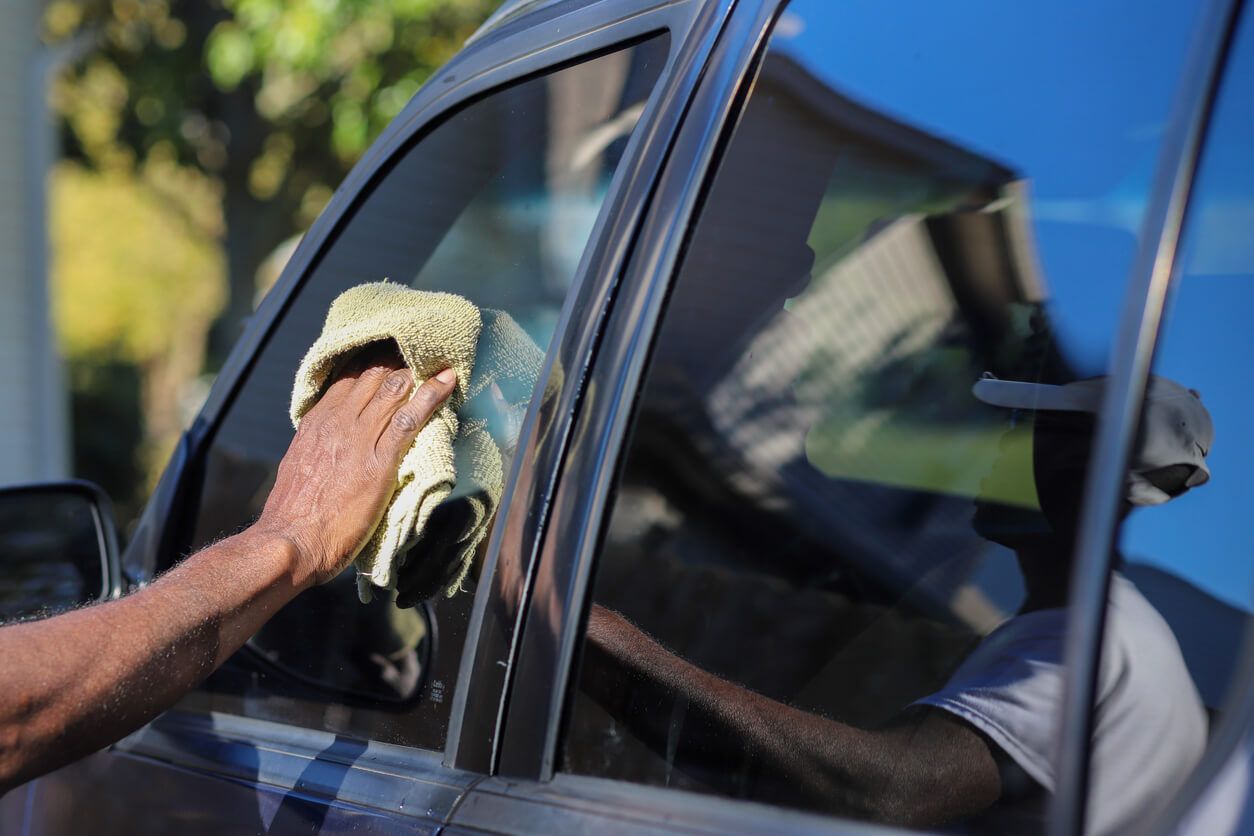
Step 7: Aftercare and Maintenance for Residential Window Film
Once the film has cured, maintenance is fairly simple. Homeowners should use non-abrasive cleaning methods and avoid harsh chemicals, ammonia-based products, or rough scrubbers that could damage the film surface. A soft cloth or microfiber towel paired with a film-safe cleaner is usually the best approach.
It is also wise to be careful with anything that may strike or scrape the film near the edges. Window film is durable, but like any finished surface, it benefits from basic common sense. Sharp objects, aggressive scraping, or constant friction from poorly adjusted blinds can shorten its lifespan.
The upside is that quality residential window film is designed to perform for years. With professional installation and proper care, homeowners can enjoy long-term benefits without turning maintenance into a chore. In many cases, the film becomes one of those invisible upgrades that quietly does its job day after day, especially during the hottest months of the year.
How Long Residential Window Tint Installation Usually Takes
The timeline depends on the number of windows, the size of the home, and the type of film being installed. A smaller project may be completed in a few hours, while a larger whole-home installation may take a full day or more. Specialty films, difficult-to-access windows, or decorative applications can also affect the schedule.
That said, most homeowners are surprised by how efficient the process is. This is not usually a week-long disruption. A trained team can move through the work methodically and with minimal interruption to your routine. You may hear some movement, cleaning, and tool use, but in most cases, you can remain at home during the installation.
For homeowners in San Antonio, timing can also matter seasonally. Many people schedule residential window tint installation before peak summer heat arrives, but there is value in doing it any time of year. The sun here does not exactly take long vacations.
Why Professional Installation Matters
There is a reason professionally installed residential window tint tends to outperform DIY kits. Homes are full of variables: different pane sizes, seals, glass types, angles, and exposure conditions. A professional installer knows how to navigate those details, recommend the right product, and apply it cleanly.
Poor installation can lead to visible defects, shortened film life, and disappointing performance. Bubbles, peeling edges, contamination under the film, and uneven appearance are common problems when the work is rushed or improperly done. In contrast, professional installation gives homeowners a smoother finish, better durability, and the confidence that the film is appropriate for the glass.
That matters even more when you are investing in premium products like
3M™ residential window films. The film itself is only part of the equation. Installation is what turns a good product into a finished result that actually delivers on comfort, efficiency, and appearance.
What San Antonio Homeowners Can Expect From the Results
In a market like San Antonio, residential window tint installation is not just about aesthetics. It is a practical response to intense sunlight, persistent heat, and the daily strain those conditions place on a home. Homeowners often notice the difference first in the rooms that used to feel difficult to use during the brightest parts of the day. The temperature feels more balanced. The glare eases up. The space feels calmer.
Over time, the benefits become even more obvious. Less fading on furniture and flooring. More privacy where it is needed. Better comfort near large windows. Less dependence on closed blinds in the middle of the afternoon. It is the kind of upgrade that does not scream for attention, but steadily improves how the house feels and functions.
If you are considering
residential window tint installation, knowing the process ahead of time makes it easier to move forward with confidence. From consultation to film selection, installation, curing, and aftercare, the experience is usually simpler than homeowners expect. And when the right product is installed by an experienced team, the results can feel like giving your home a better relationship with the Texas sun instead of losing the fight every afternoon.
If you are ready to improve comfort, reduce glare, and protect your home from harsh UV exposure, Premier Window Tinting can help San Antonio homeowners find the right residential window film solution for their space.
Expert Advice on Automotive, Residential, and Commercial Window Tinting