

How Much Does House Window Tinting Cost?
If you’re a homeowner interested in reducing energy bills, enhancing privacy, and protecting your interior from damaging UV rays, window tinting is a smart solution. But one of the most common questions we receive at Premier Window Tinting is: How much does it cost to tint house windows? The answer depends on several factors, including the size and number of windows, the type of window film you choose, and any specific privacy or decorative needs you may have.
Understanding the cost of tinting windows in your house is the first step toward making your home more comfortable and energy-efficient.
Disclaimer: Actual costs may vary depending on window size, quantity, film type, and installation requirements. The estimates provided are for informational purposes only and are subject to a site assessment. For the most accurate price, we recommend scheduling a free consultation and estimate. Our team can assess your specific needs, discuss film options, and provide a tailored quote for your home.
Average Home Window Tinting Costs
The cost of tinting house windows depends on several key factors. On average, most homeowners spend between $6 and $12 per square foot for professional home window tinting. This pricing covers both the window film material and expert installation. The cost to tint windows in a house with multiple windows, larger glass doors, or specialty options such as privacy or decorative films may be higher, while smaller projects or basic film types can bring the total down.
What Affects the Cost of Home Window Tinting? Key Factors to Consider
When planning a home window tinting project, it's essential to know the components that contribute to the overall cost. Several key factors determine your final price, including the number and size of the windows, as well as the type of film you select. Being aware of these details can help you budget more accurately and choose the best options for your needs.
Here’s a closer look at what can affect the cost to tint house windows:
- Size and Number of Windows: The more windows you want to tint, or the larger the glass surfaces, the higher your total cost will be. Large windows and glass doors require more window film material and take longer to install, resulting in increased costs for both materials and labor.
- Window Shape and Accessibility: Standard rectangular windows are the easiest (and least expensive) to tint. However, specialty shapes, such as arched or circular windows, stained glass, or tall picture windows, require more time, skill, and sometimes specialized equipment, which can result in a higher price.
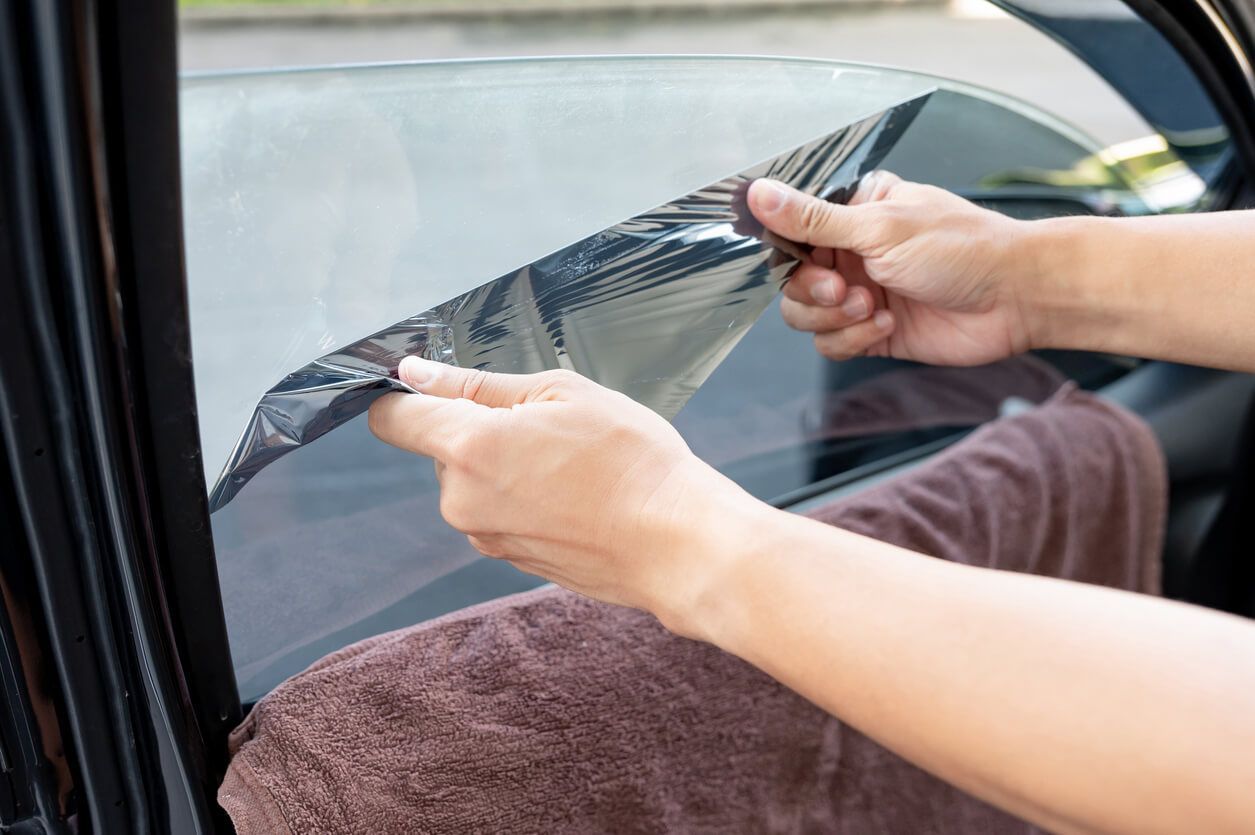
- Film Type: Not all window tinting films are created equal. Options such as ceramic, carbon, dyed, or metallic films each have unique benefits and price points. Specialty films, such as privacy, decorative, or security film, generally come at a higher cost due to their enhanced performance and features.
- Condition of Existing Windows: If you have existing tinting film that needs to be removed or older glass that requires prep work, this can raise installation costs. Extra care and labor are often needed to prepare windows for new film safely.
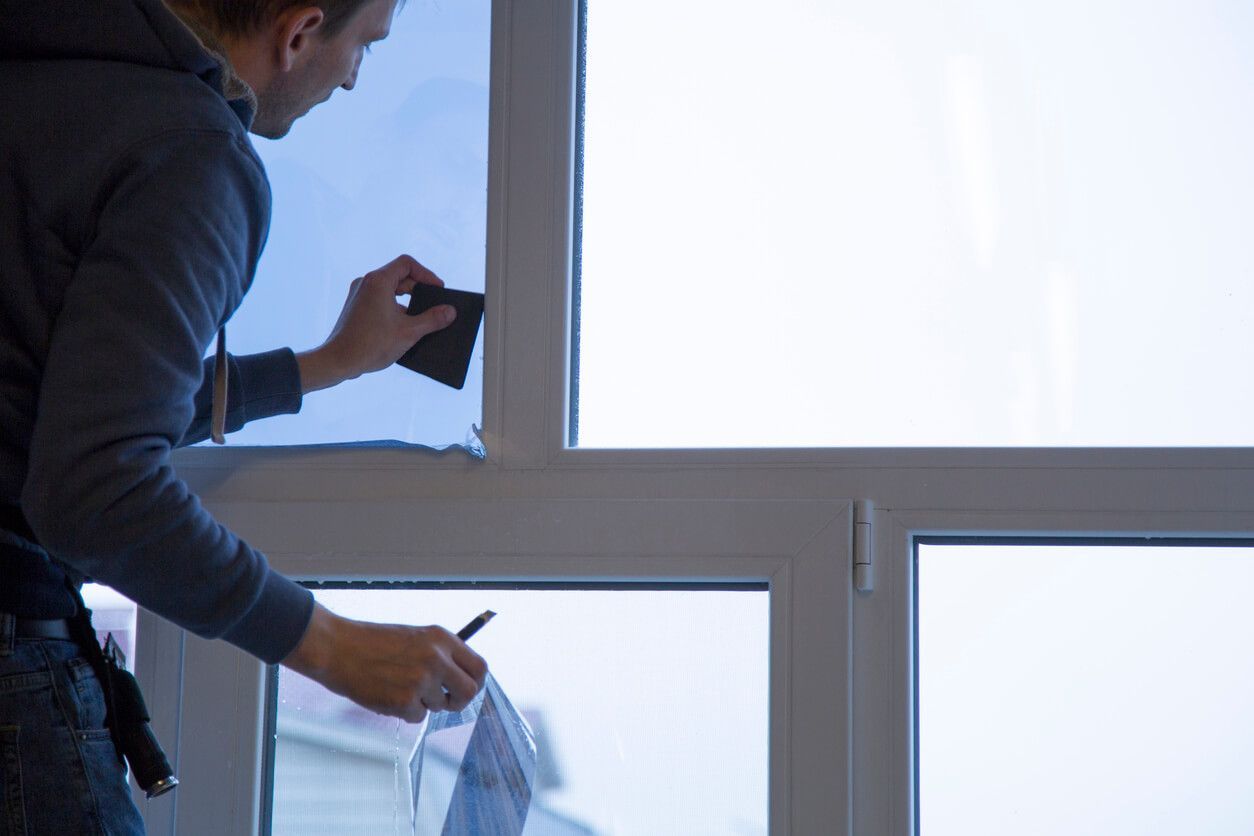
- Professional Installation: While DIY is an option, hiring certified professionals ensures your investment is protected. Proper installation makes sure your window tint is applied correctly, maintains warranty eligibility, and delivers optimal results that last.
- Location and Timing: Your geographic location and the time of year can impact pricing. For example, labor and materials may cost more in certain regions, and some companies offer seasonal discounts that can help you save on project costs.
Types of Window Film: Choosing the Right Option for Your Home
Choosing the right film is one of the most important cost factors when planning your window tinting project, since each film type offers unique benefits and performance. Here’s how the most common types compare:
Ceramic Window Film
Ceramic window film offers top-of-the-line performance for UV protection, blocking up to 99% of harmful rays and providing superior heat rejection. Because it’s non-metallic and non-dyed, it preserves signal clarity for electronics and won’t fade over time. Ceramic film is also highly durable, resisting scratches and corrosion, making it a premium choice for homeowners seeking long-lasting value. Although it typically costs more per square foot, it delivers unmatched energy efficiency and protection.
Carbon Window Film
Carbon window film offers excellent glare reduction and effective heat rejection, with greater longevity compared to dyed options. Since it doesn’t contain metal, carbon film won’t interfere with electronic devices or lead to corrosion. Its rich, matte finish adds a touch of style to any residential window, and it’s considered very affordable given its durability and overall performance.
Dyed Window Film
Dyed window film is a budget-friendly solution suitable for projects aiming to minimize costs. It improves privacy and reduces some heat and glare, but it is generally less durable than ceramic or carbon varieties. Over time, dyed films may be prone to fading or discoloration, particularly with prolonged exposure to direct sunlight.
Metallic/Metalized Window Film
Metallic or metalized window films use tiny metal particles to reflect solar heat, offering strong UV protection and notable energy savings. They are particularly effective for reducing heat and glare, making them ideal for large or west-facing windows. However, due to their metal content, these films may interfere with cell phone, GPS, or Wi-Fi signals, and can sometimes exhibit a mirrored appearance. Their pricing typically falls between dyed and ceramic films, providing a good balance of cost and performance.
Selecting the best window film for your home will depend on your budget, style preferences, energy efficiency goals, and any concerns regarding privacy or electronic compatibility. By comparing the main types side by side, you can confidently choose the window film that delivers the right mix of performance, value, and lasting beauty for your needs.
| Type | UV & Heat Protection | Durability | Appearance | Device Interference | Price Range | Ideal For |
|---|---|---|---|---|---|---|
| Ceramic | Superior (up to 99% UV blocked, excellent heat rejection) | Outstanding; resists fading, scratches, corrosion | Clear, non-reflective; maintains clarity | None | High | Premium performance and longevity |
| Carbon | Excellent heat and UV protection | Very good; won’t fade or corrode | Matte finish; modern look | None | Moderate | Affordable, stylish, and reliable |
| Dyed | Basic UV and heat protection | Lower; may fade or discolor | Variety of tints; improves privacy | None | Low | Budget projects or short-term solutions |
| Metallic / Metalized | Strong UV & heat rejection | Durable; reflective finish | Mirrored or shiny appearance | May interfere with signals | Mid-range | Heat/glare control for large or west-facing windows |
Why Professional Installation Matters in Window Tinting
Choosing professional installation for your home window tinting offers much more than just a flawless finish; it directly affects the performance, longevity, and warranty protection of your investment. While DIY adhesive kits may seem convenient, certified installers use techniques and high-quality materials to deliver superior, trouble-free results. By trusting experts like Premier Window Tinting, you ensure your film performs optimally for years to come and avoid unnecessary complications down the road.
Here’s why professional installation is the smartest choice:
- Proper Warranty Protection: Certified professionals follow manufacturer guidelines when installing window film, so your warranty remains intact and you’re protected against material defects or failures.
- Expert Application: Trained installers utilize tested techniques and premium-grade films to minimize the risk of imperfections, such as air bubbles, peeling, and improper curing, that can affect the appearance and performance of your windows.
- Long-Lasting Results: With precise installation, your window film will withstand years of sunlight and temperature changes without fading, bubbling, or discoloration—ensuring lasting clarity and protection.
- Cost Savings Over Time: Prevent repeat installations or repairs resulting from DIY mistakes. A professional job reduces the likelihood of bubbling, streaking, or film failure, saving you money on potential replacements.
- Peace of Mind: When you rely on trusted experts, you know your glass and film are fully protected, allowing you to enjoy the full range of benefits, comfort, style, energy savings, and protection—year after year.
The Top Reasons Homeowners Choose Window Tinting for Comfort, Savings, and Security
Tinting your home windows is more than just an upgrade. It's a smart investment that pays back in comfort, efficiency, and security. Here are some of the top reasons why homeowners choose professional window film solutions:
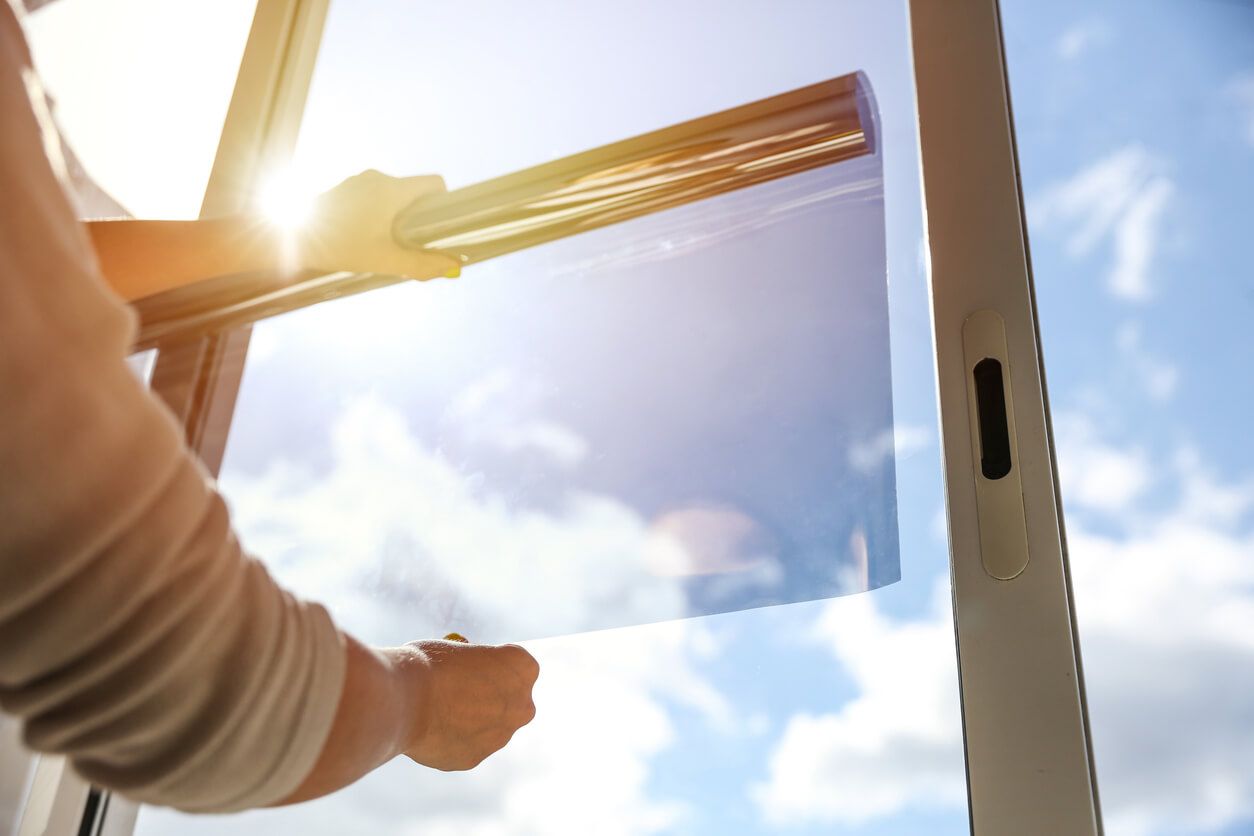
- Energy Savings: Tinting windows reduces heat gain, allowing your home to stay cooler and making your HVAC system more energy-efficient, which in turn lowers energy costs.
- UV Protection: Protects you from up to 99% of UV rays, lessening sun damage to your floors, furniture, and artwork.
- Glare Reduction: Provides a comfortable interior environment, perfect for rooms with large windows, computer monitors, or TVs.
- Daytime Privacy and Decorative Options: Enjoy privacy without sacrificing natural light thanks to options like privacy window films and decorative window films for bathrooms, bedrooms, and glass doors.
- Added Security and Durability: Security films provide an extra layer of protection against break-ins, accidents, or severe weather — keeping your family safe and your windows intact.
- Improved Curb Appeal: Give your home a modern, clean look while boosting resale value by upgrading to new films or smart glass technologies.
Experience the 3M Difference—Guaranteed Quality, Backed for Life
When you choose Premier Window Tinting, you’re not only getting skilled installation and expert service—you’re also getting the industry’s most trusted films. We use genuine 3M window film, a brand known worldwide for its advanced technology, energy-saving performance, and exceptional durability.
As an authorized 3M Film dealer, Premier Window Tinting offers comprehensive product options and ensures every installation is backed by 3M’s outstanding lifetime warranty. Enjoy lasting comfort, protection, and peace of mind, knowing your investment is covered and your results are built to last.
Transform Your Home’s Comfort, Efficiency, and Privacy With Expert Window Tinting
Whether you want to reduce energy costs, protect your interiors from damaging UV rays, enhance daytime privacy, or simply update the look of your windows, professional home window tinting offers immediate and long-lasting benefits. At Premier Window Tinting, our certified professionals use only premium-grade films and precise installation techniques to guarantee outstanding, durable results—making sure you enjoy a cooler, more comfortable, and energy-efficient home in every season.
Take the next step toward a safer, more beautiful living space now.
Contact us for a free quote made to your specific needs and discover how easy and affordable it is to add tint and save money.
Expert Advice on Automotive, Residential, and Commercial Window Tinting